Need a Call? 1-707-938-5664
AN Hose Tool – Large Kit
CODE :
KT.1016
Category AN Hose Assembly Tools
$90.00
In stock
Share Product :
Facebook
Twitter
LinkedIn
Pinterest
Description
Since the invention of braided, stainless steel hose, racers and mechanics have been struggling to install it into the socket part of the AN hose assembly. If you're lucky and get a clean cut on the hose end, you might get it in. Most of the time the hose end is a bit fuzzy and the battle begins. It is not only time consuming, it can get bloody as well.
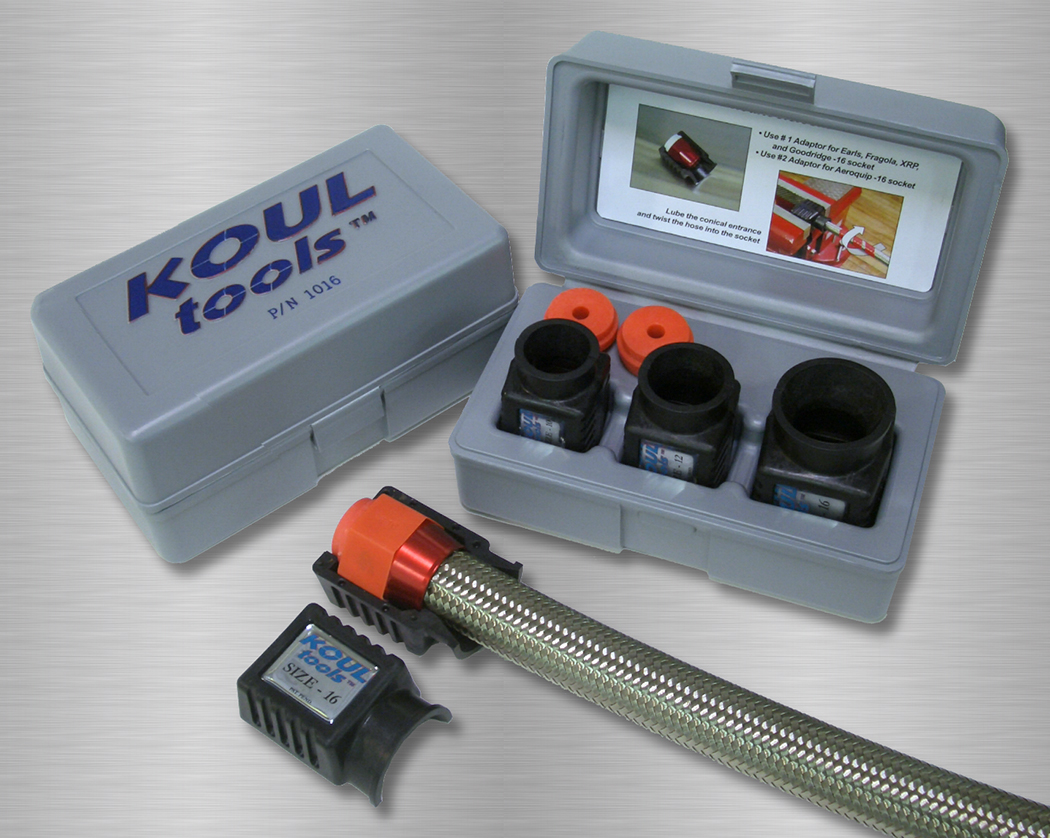
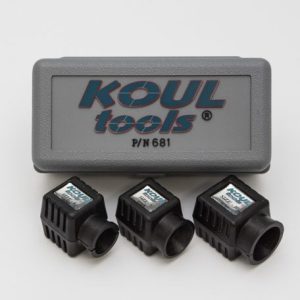
The AN Hose Assembly Tool fills a need that was long overdue. Just insert the socket into the capsule of the hose assembly tool, twist in the hose, and the assembly is complete is less than ten seconds. There's no need to worry about wear or tear. This tool is made of a high-tech composite and is virtually indestructible. You can even repeat this process several times without re-cutting this hose end.
You'll be amazed at the amount of time you save and pain you avoid by using this tool. Gone are the days of stabbing your fingers with frayed hose ends and scraping AN hose because it was cut too short. The money you save from buying band-aids alone will pay for the tool.
AN Hose Assembly Tool Details
Large Kit
- Installs sizes -10,-12,-16 AN hose.
- Includes spacers and sleeves for different sized sockets.
- All -16s (excepts Russell's brand) use the sleeve and a rear spacer.
- Most -10s and -12s will use a spacer.
- See the instructions in the case for the proper spacer number.
* AN Hose Assembly Tool does not work with PTFE (Teflon) hose.
* We have additional information on our instructions page, our video page, and our shop tips for AN Hose Assembly.
AN Hose Assembly Made Easy
1. Carefully measure the length of hose you need. When calculating the length, don't forget the hose goes into the socket up to the threads. It's a good idea to double check yourself and take the hose over and hold it up to see if the length is correct. Remember the old saying, "Measure twice, cut once." This hose isn't cheap, so it's not a bad idea.
4. Use an abrasive cutoff wheel to cut the hose. Line up the cutoff wheel so it's in the middle of the tape. Be gentle when cutting the hose. You can also use a 32 tooth hacksaw, sharp chisel, or Beverly shear to cut the hose. I have always used the cutoff wheel with pretty good success. If you get some wild hairs (stainless braid strands) cut them off.
5. The hose on the right is a pretty good cut, but the one on the left not so much. The braid is delaminating from the hose. It is on the verge of being unusable, even with our hose assembly tools. Without them, it is scrap. We are going to show you how to save it.
6. Stick a blowgun in the opposite end of the hose you just cut and clean it out. Don't blow it from the end you just cut.
7. Install the socket part of the fitting into the hose assembly tool's capsule. The length of the socket varies depending on the manufacture, so spacers may be required to snug the socket against the funnel. The spacers are included in the kits.
8. Once the socket is resting properly in the capsule, attach the other side of the capsule and clamp it into a vise. You can install the hose into the socket without a vise, but you need to grip it tight enough to keep the socket from rotating. If the socket rotates, the tool will not perform. You don't need to worry about vise marks either, the tool is made of glass filled nylon and won't mark up the fitting like aluminum would. A demo tool has done 800 installations with very little wear.
9. Twist the hose into the socket. If you try to push it straight in it will fail. If the hose frays, help the wild ones into the funnel so the hose doesn't delaminate anymore. It will go in if the frayed ends don't spread too far into the hose.
10. Pull the assembly out of the capsule and check to see if the hose is in the proper distance. It's not unusual to push the hose in too far with the hose assembly tool. Just twist and pull it backwards until it is up against the threads. Some hoses can be difficult to install all the way to the threads of the socket. I have an easy way to install braided stainless hose to the threads. Clamp the hose in AN vise jaw inserts and push the fitting onto the hose with a palm wrench.
12. Mark the hose with a reference point to be sure the hose doesn't push out during assembly. I use tape, but a marker will work. By accident, I discovered a way to clamp the hose and the socket. Place AN vise jaws inserts so that there are sticking half way out of your vise. This will prevent the hose from pushing out when you screw the fitting in.
13. Screw in the fitting until you get about 1/16" from the bottom. Don't get carried away with over powering it. Make sure that the mark on the hose hasn't moved. If it did, unscrew the fitting and start over. If everything looks good, run some solvent through the hose and blow it out again. Be sure it's clean. If you can pressure check it, all the better. Oil the threads and you are ready to install the assembly.
Additional information
| Weight | 2.5 lbs |
|---|

